The Home of Iris Folding
Categories
- C5 Iris Folding
- C6 Iris Folding
- Square cards
- Multi Packs
- Iris Folding Papers
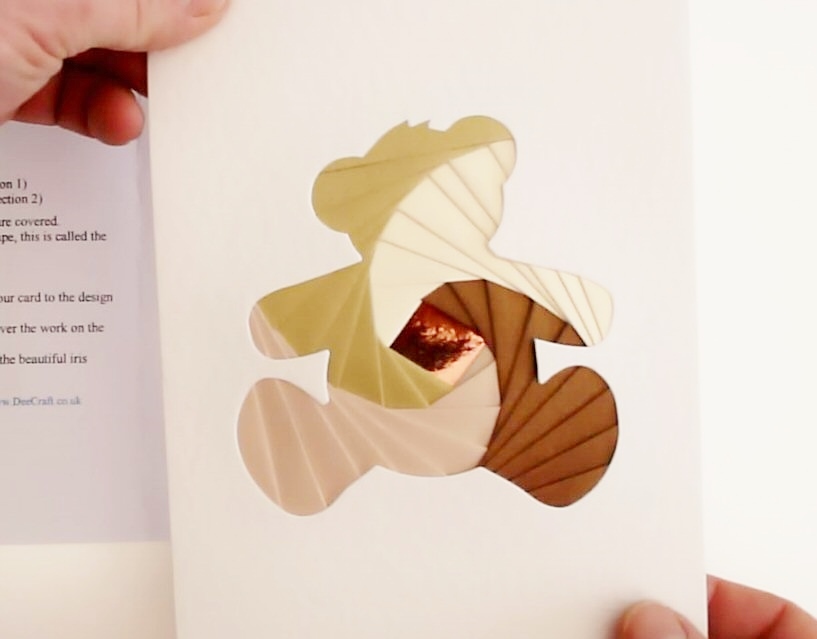
- How to do Iris Folding
- Card Packs
- Craft Paper packs
- Dies
- Die cuts
- Embelishments
- Embossing
- Peel Offs
- Riverbank Revels
- Stamps
- Sticky Tape / Glue
- Other
- * New *
- Contact Us
- T & C
- Facebook Page
- DeeCraft Stockist
- Customer Gallery
-
Admin